Painting Prep 101: What You Need to Know Before Your Interior Painting Project
- Brian Sullivan
- Dec 5, 2024
- 3 min read

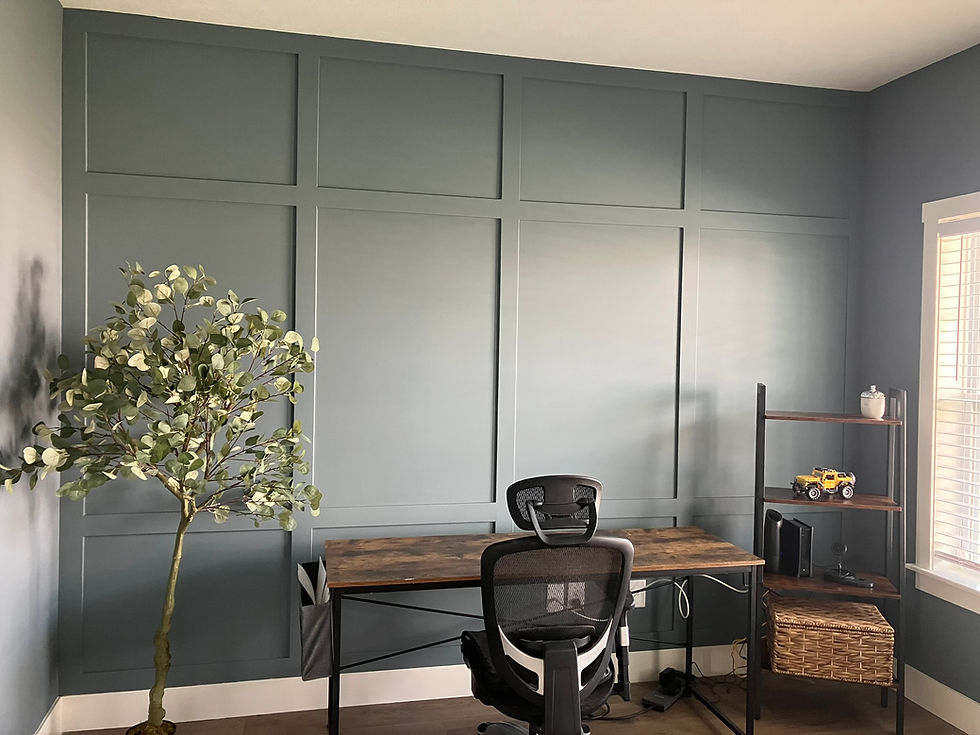
Embarking on an Interior Painting Project can transform your living space into a vibrant and refreshing haven. However, the success of your endeavor hinges on one critical factor: preparation. This guide delves into the must-know steps and tools for a flawless painting experience.
Understanding the Importance of Preparation for your Interior Painting Project

Preparation is the foundation of every successful painting project. It ensures that paint adheres seamlessly to surfaces, producing a finish that endures over time. Without proper prep, even the finest paints can falter, leading to peeling, uneven textures, or discoloration.
Homeowners often underestimate the value of this step, rushing to see results without securing a smooth base. This oversight can result in costly rework.
Thoughtful preparation minimizes setbacks, guarantees longevity, and ensures your vision comes to life effortlessly.
Essential Tools and Materials for Prep Work
Preparation requires more than just enthusiasm. Equipping yourself with the right tools is critical to avoid costly mistakes. For any project, essential supplies include painter's tape, drop cloths, spackling paste, sandpaper, and a sturdy ladder.
Advanced tools like ergonomic scrapers and sanding blocks can significantly reduce labor. A laser leveler is an often-overlooked yet invaluable device, particularly for achieving clean, crisp lines in detailed areas. These tools expedite preparation, making the task less cumbersome and more effective.
Start Preparing Your Work Surfaces
To prepare your space for painting, start by removing furniture, wall hangings, and any other obstructions to create a clear working area. Protect floors and immovable items with high-quality drop cloths to guard against paint splatters, and use painter's tape to cover edges precisely, preventing bleed-through and ensuring a clean, professional finish. Inspect the walls carefully for any cracks, holes, or uneven textures, as these imperfections can detract from the final result. Repair damages with spackling paste, then sand the surfaces smooth once dry.
For walls that have been painted before, a light sanding helps improve adhesion and ensures the new paint bonds effectively. Finally, apply a quality primer to create a neutral base that conceals surface flaws, enhances color vibrancy, and reduces the number of coats required, resulting in a durable and polished finish.
Know When to Call in the Professionals
While DIY painting is rewarding, certain projects require expert intervention. For instance, large or intricate spaces, textured walls, or ceilings with delicate details may demand specialized skills.

Opting for professional interior painting guarantees
efficiency and precision in execution. Experts bring years of experience and industry-grade tools, ensuring a flawless finish that justifies the investment.
Perform Your Final Checks Before Painting Begins
Preparation doesn’t end once the primer dries. Conduct a thorough inspection to identify missed spots or tape misalignment.
Pay close attention to edges and corners, as these are often overlooked. Take the time to ensure all surfaces are dry and dust-free.
These final checks ensure your hard work pays off and everything is ready for that perfect coat of paint. Once satisfied with the prep, gather all your painting materials and make sure your workspace is well-lit and organized.
The Art of The Prep: Setting the Stage for Perfection
A well-prepared Interior Painting Project is the hallmark of an efficient and satisfying renovation experience. Investing in the right tools, dedicating time to prep, and knowing when to seek professional help lays the groundwork for stunning, durable results.


Comments